I am finally getting around to finding some time to blog about some of the things that I got as gifts this past holiday season. I know it might seem a little late for something like that, but one of the things I received is a breadmaker. The breadmaker is something that I have talked about getting for a long time since we do seem to go through quite a bit of bread in this house and I do not know about where you live, but here the price of bread can get quite expensive. Even just for a regular loaf of rye bread it can cost over $3. I came to the conclusion that I could make a good quality bread right at home on my own for less money, but if I had to spend all of the time doing all the work it would really cut into my day and maybe it would not be worth it. That is why the breadmaker seemed like a good investment. I looked around at various models before I finally decided to add to my Amazon wish list the Zojirushi breadmaker. I really like the model that had the ability to make a larger loaf of bread and a more traditional horizontal loaf, unlike other makers that make a vertical loaf with a big hole in where the kneading takes place. That is why I chose the model that I got and here is my quick review of what it has to offer.
The Zojirushi BB-CEC20 model has everything I could hope for in a bread machine. To start off with, it was packed better than most any other small appliance that I have ever come across. There were all kinds of protection for the machine on top, around and on the bottom of the box. The machine is quite heavy itself so I needed to be careful with it when I took it out of the box and decided to place it on the butcher block kitchen cart that we have as its best location. The breadmaker comes with an instructional DVD that takes you through the basics of how to use the machine, all of its parts, how to set it up properly and a couple of the basic recipes. The DVD is pretty short and does not really provide you with that much more information than what you would get out of just reading the operating instructions book that comes with it. The operation instructions cover everything that you would need to know and give you several different recipes that you can use for all kinds of basic breads. It covers everything from white bread, rye bread, whole wheat bread, cinnamon raisin bread and more. It also gives recipes for some basic dough so that you can make pizza dough, pretzels, rolls, croissants or other types of bread that you want to form into different shapes such as baguettes, ciabatta and the like. You could also do some basic pound cake recipes or quick breads like banana bread or zucchini bread. There are even recipes for sourdough starters and a homemade course cycle which allows you to program each of the cycles to adapt better to your particular bread recipes.
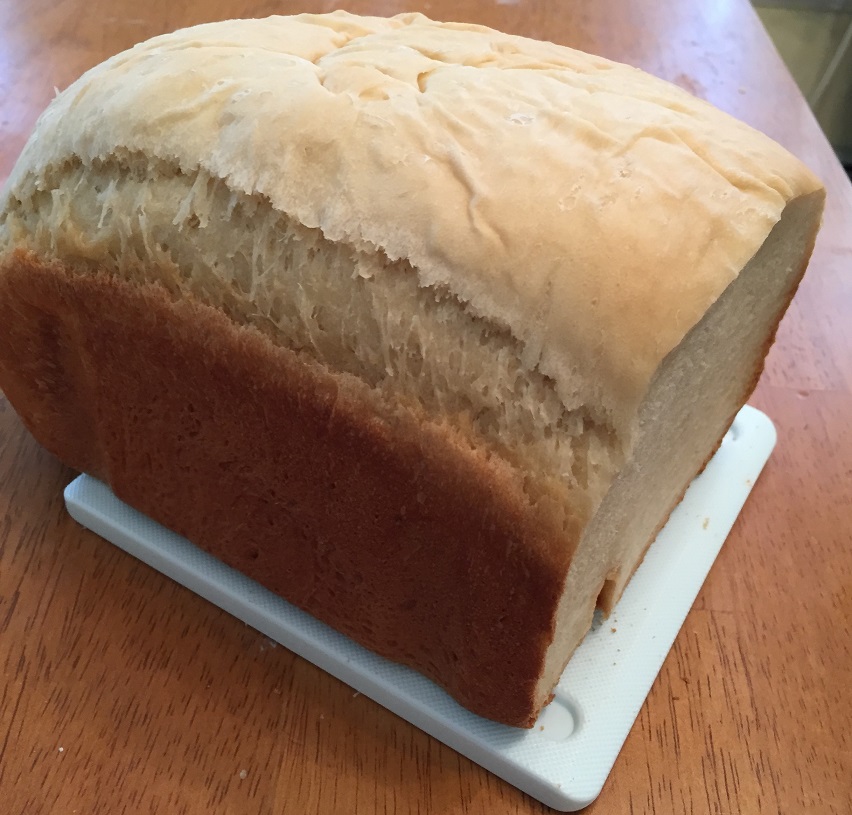
Now on to the basics of the machine itself. I really liked how simple it is to put everything together and the baking pan that is inside the machine has a nice nonstick coating on the inside to help you easily remove breads that you have baked or even doughs that have just been kneaded. The machine also comes with a 1 cup measure and a tablespoon/teaspoon for you to use for your measurements. The actual use of the machine could not be much easier than it is. I started off with the first recipe that I tried using the basic white bread recipe that comes in the manual. The basic white bread recipe is also posted right on the side of the machine so you do not always have to have access to the manual if you just wanted to make a simple sandwich bread. All you needed to do was put the ingredients right in, although they do need to be placed in a specific order in order to guarantee proper mixing and rising (water, flour, sugar, salt, dry milk, butter and then yeast in the center of the flour). I then plugged the machine in, and you get your choice of choosing not just what type of course you would like to make, whether it is a basic bread or a quick bread (you can use rapid rise yeast for the quick cycle) but you can also choose what type of crusty want for your bread, choosing light, medium or dark. Once you have selected that it is just a matter of pressing the start button and letting machine do its thing. The basic white bread recipe takes 3 hours and 45 minutes to do all the mixing, kneading, rising and baking. Once the bread is complete the machine beeps to let you know that it is finished. You can just pop open the lid and take the baking pan out, though you want to remember to use oven mitts while you are removing the baking pan as it will be quite hot. Because the baking pan is nonstick you do not have to struggle to try to get the loaf out of the pan. I also like the fact that the kneading paddles are small so it does not leave a giant hole in the bottom of your loaf of bread from where the dough was resting. The kneading paddles are also very sturdy and do a great job throughout the process. The final product was excellent and even though I am not a big fan of plain white bread, I have to admit that the bread came out quite nice and had a really good crunch to it. We have made several loaves of white bread since the Christmas holiday and Sean takes some for a sandwich for lunch just about every day to school. I would definitely recommend this particular breadmaker over the others that you find on the market today. Though the price can be a lot more, with this model costing nearly $250, it is certainly worth the investment and will pay for itself over the long-term if you use it regularly. Zojirushi also has a number of recipes posted right on their website that are not in the manual that you can try out. I have included a couple of pictures of the machine along with a picture of some of the white bread that we made recently. Tomorrow I will post the rye bread recipe that I used to make some tasty rye bread.
That’s all I have for today. Check back next time for another recipe. Until then, enjoy the rest of your day and enjoy your meal!